OpenFL provides a sample project named SimpleSWFLayout, demonstrating how you can set up a layout that scales along with the window.
Three items are being resized here:
- The background scales to fit the screen.
- The header scales horizontally to take up almost all of the window (except for a small margin on both sides). It doesn’t scale vertically.
- The column scales vertically to take up most of the space below the header, and it doesn’t scale horizontally. It has a larger margin below it than above it.
All this is automatic, courtesy of the Layout library!
How it works
The Layout library uses some clever tricks to make this easier on you. But if you don’t know that these tricks exist, you can’t really take advantage of them, can you? Let’s fix that.
The project is called SimpleSWFLayout because it loads its three assets from a SWF file (layout.swf, found in the asset folder). For convenience, it also includes the layout.fla file used to generate the swf.
If you have Flash Professional, you can open up layout.fla and see that it has all three items already arranged correctly. The header already has a 12 pixel margin above it, and a 16 pixel margin on each side. The column is already placed 20 pixels below the header, 16 pixels from the left, and 54 pixels above the bottom.
So all you need to do is tell the library that you want to keep these margins constant. That’s what’s going on when the example specifies TOP, STRETCH for the header and STRETCH, LEFT for the column. (Traditionally, x comes before y, but for some reason the opposite is true here. I don’t know why.)
The base stage dimensions
If you’re paying really close attention, you may notice that the background in layout.fla is 800×600, while the SimpleSWFLayout project starts at 800×500.
Don’t worry! It doesn’t need to match.
The background is what defines the “base” stage size. The margins will be calculated based on the size of the background, and then scaled to fit the actual stage size. It’s just like if the window started at 800×600 and was promptly scaled down to 800×500.
Whenever you add a new object, it will use the base stage size to figure out what margins it needs. Even if you’ve already scaled the window, it’ll refer to the background’s original width and height.
Other alignments
The example demonstrates how to align something to the left and top. But that’s not much of a demonstration, is it? To keep an object 16 pixels away from the left edge, all the Layout library has to do is not change its x coordinate.
But you can align objects to the right, bottom, or center of the screen too. If you align to the right, the Layout library will update the x coordinate so that the object moves with the right edge of the screen. However far it started from the right, that’s how far it will be after resizing. Same with aligning to the bottom.
(Well, mostly. There’s some inconsistent behavior for small windows, but I won’t get into that.)
If you choose to align an object to the center of the screen, the Layout library will remember how far it was from the center, and keep it that far. I like to think of this as “pinning” the object to the center, because it’s like you stick a pin in the object wherever it crosses the center line. Whenever the center line moves, that point on the object follows that point on the center line. (The object doesn’t actually have to touch the center line to be “pinned,” but I still like the metaphor.)
One of my first criticisms of this library was that it didn’t allow you to place objects relative to one another, and keep them that way. But that just isn’t true.
Let’s say your main menu has three buttons right next to one another. You put all three in a line just below the center, and pin them (both horizontally and vertically). When you resize the stage, all three buttons will move by the same amount in the same direction.


They’re staying in the same position relative to one another, and they’re staying just below the center. Looks good!
The problem
There’s something wrong with this implementation. Have you figured it out yet?
Hint: there are only two options for scaling. Either you keep the size constant, or you fill the stage, minus a constant value.
Take a moment to think about it.
(Or just scroll down if you aren’t in the mood for games.)
…
…
…
…
…
…
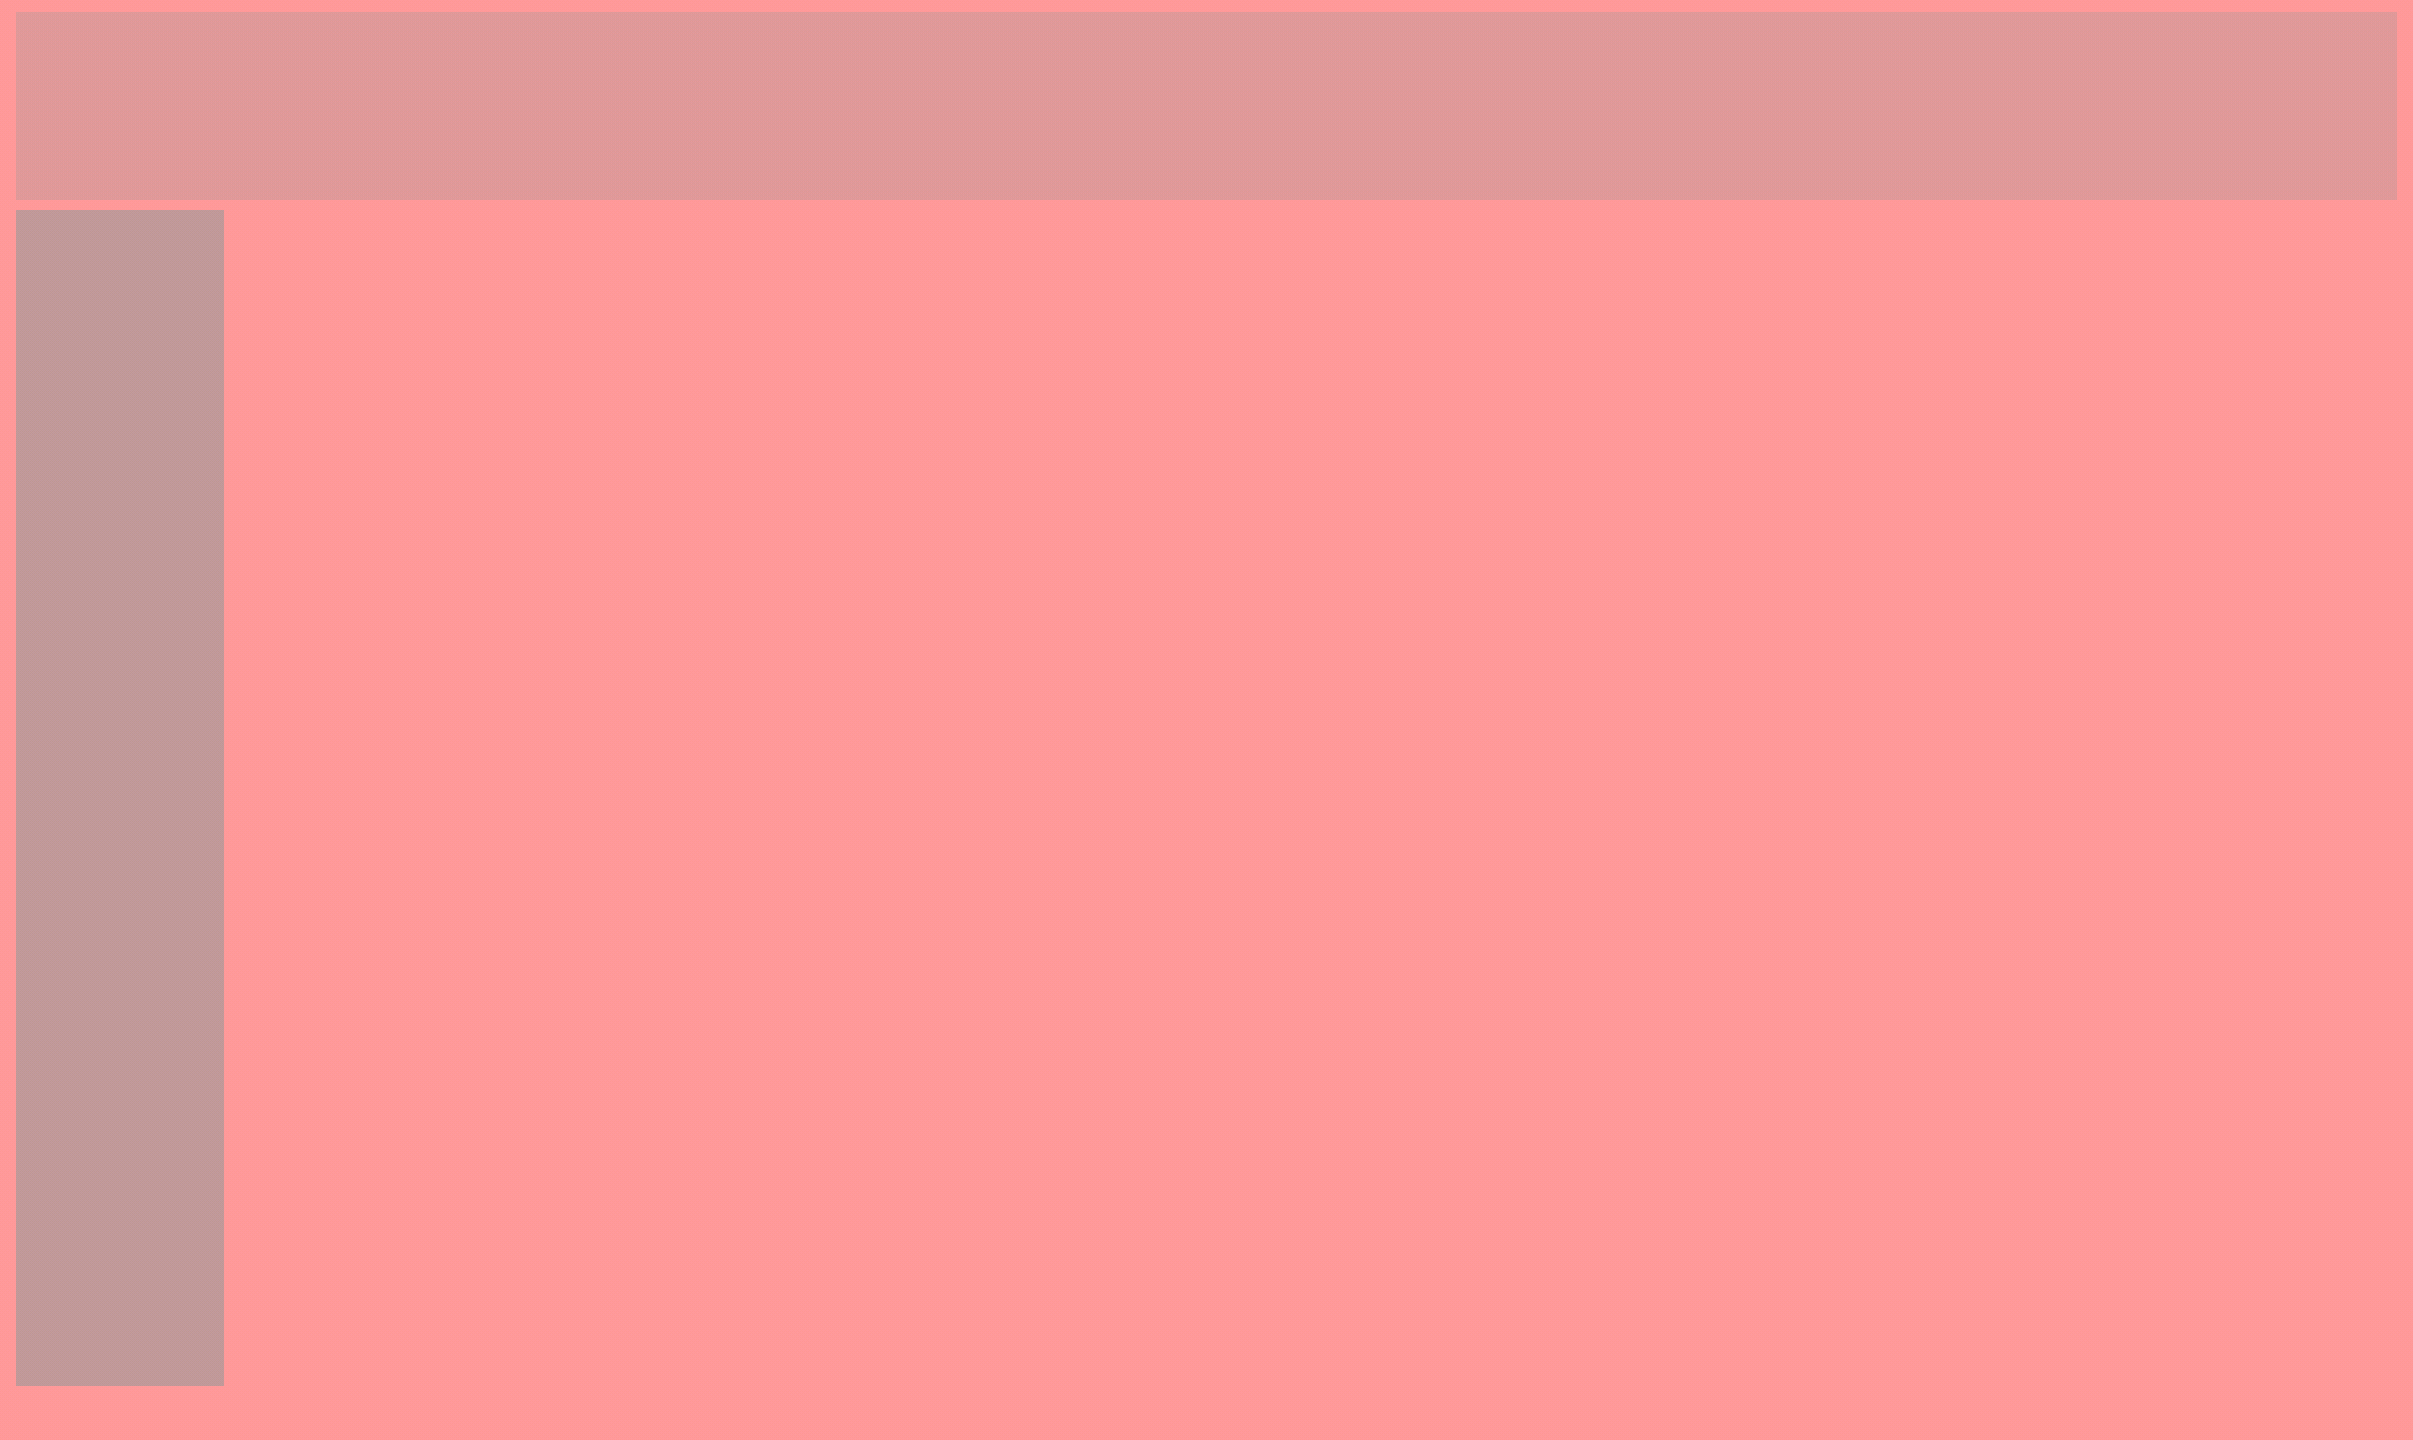
That right there is a lot of empty space.
The problem is those constant values I mentioned. A constant 16-pixel margin looks good enough on screens around 800×600, but when the screen is over 2000 pixels wide, it just gets lost. And a constant width and height for the column and header respectively means they take up less and less of the screen as it gets bigger.
In short, the Layout library is not, in itself, enough for your mobile layout needs. Fortunately, I’ve created a more advanced alternative. Documentation coming soon!